
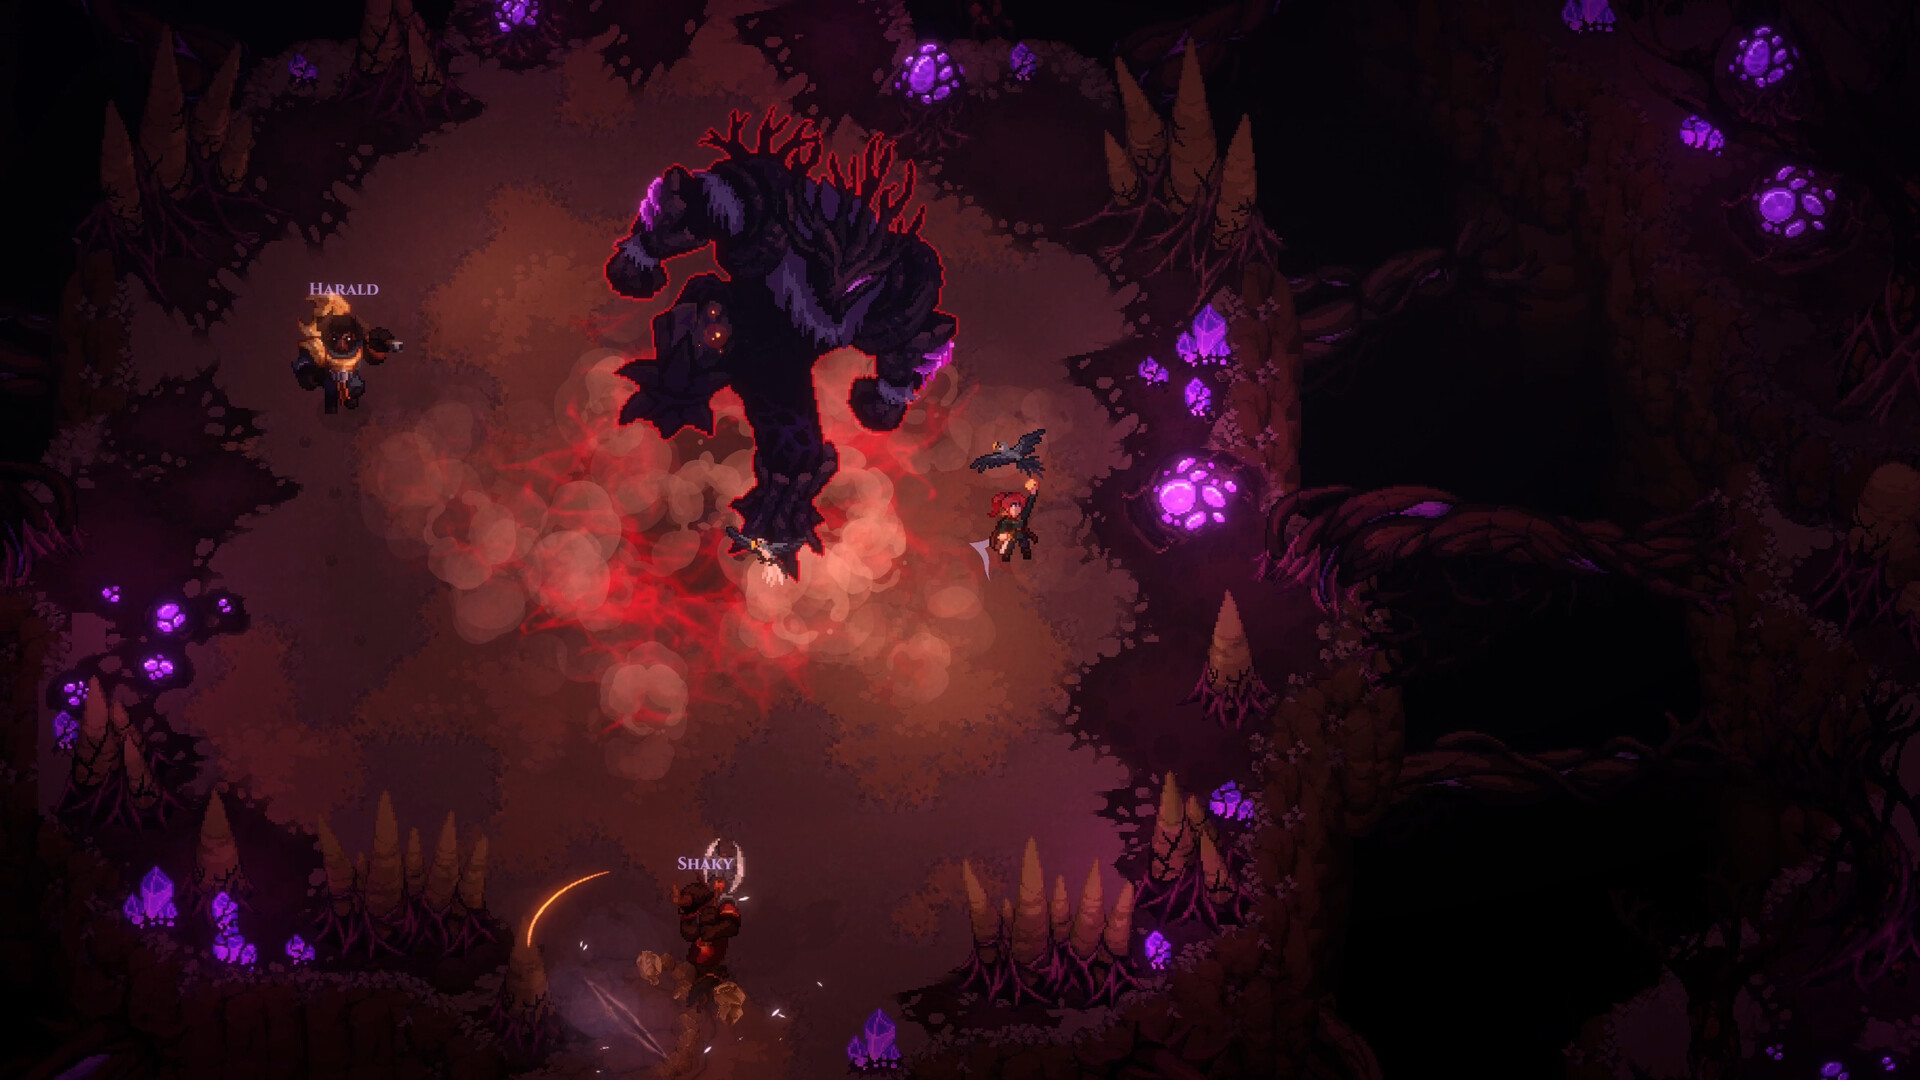
Official Steam screenshot · local copy from the Dimraeth Steam store page.
The official Steam page confirms a working skill tree and attribute system, equipment with rarity tiers and upgrades, five equipped spells and more than 300 total spells. It does not publish a complete live node map, fixed point costs, a universal weapon ranking or a finished Shadow Elf build. Those fields remain UNKNOWN here.
Build planning is easiest when you check the current classes and races, follow the skill tree and respec guide, then compare the co-op rules and live Early Access status. Browse every Dimraeth guide when you need another topic. Note: searching for "dimreath builds" or "dimraet builds"? This is the right page—Dimraeth is often mistyped, and all build information here covers the same game.
Human Mage: a safe starter direction
The Human Mage row is a planning direction, not a named official build. The official Early Access FAQ lists humans and mages among the current choices, while the Steam description says race and class provide their own spells and that each Archetype has its own skill tree and playstyle. Read the current roster guide alongside the live tree before testing; that is enough to justify a Mage experiment, but not enough to publish a fixed spell path, a damage value or a mandatory item.
- Find the core action. Read the live Mage nodes and choose the spell or attack you can use reliably in the current build.
- Trace the shortest useful route. Follow visible prerequisites toward that core action. Do not spend because a node sounds strong if the tooltip does not explain how it supports your plan.
- Add one problem-solver. Use the next point for the issue you actually observe: reaching a target, staying alive, recovering resources or finishing a group.
- Check the attributes. The official FAQ confirms a working attribute system, but the reviewed official text does not publish a universal allocation. Treat live requirements as the authority.
- Record the result. Note the node, equipped spells, weapon and enemy type so a later change can be compared against the same baseline.
This makes the Human Mage a useful first experiment without pretending that the page has a verified level-by-level Dimraeth build. If the live tooltip, a patch note or an official developer explanation later establishes a named route, it can be added with its source and version.
Elf Mage: test a setup-and-payoff route
Elf Mage is another current roster pairing, not a claim that every one of the nine race/class combinations has identical access or balance. Start by reading the live Elf and Mage descriptions, then test one setup-and-payoff interaction rather than filling every slot with unrelated damage. The official store supports the existence of racial and class spells and separate Archetype skill trees; it does not provide a complete Elf Mage allocation.
- Choose one setup effect. Confirm its exact tooltip, requirement and duration in the live build.
- Choose one payoff. Add a second skill only when its description clearly interacts with the setup effect.
- Leave room for defense. Do not turn a five-slot bar into five conditional attacks before you know how the route survives contact.
- Test the order. Use the same target and repeat the sequence. If the target dies before the payoff, the route may be unnecessary for that encounter.
- Change one variable. Compare a weapon, attribute or spell change separately so the result is not confused with a patch or gear change.
Exact names, point totals, unlock paths and item requirements are UNKNOWN unless the live screen or an official source identifies them. This is the boundary between a useful build method and an invented best-build article.
Five-spell loadout patterns
Before locking in a loadout, compare the current classes and races with the skill tree and respec guide →.
The Steam description confirms five equipped spells and more than 300 total spells. It also says racial and class tools, crafted spellbooks and attribute requirements can shape access. The five patterns below are planning templates for those five slots, not official presets or claims that any named spell belongs in a specific slot.
- Core / setup / payoff / defense / flex. Put the action you use most often first, reserve two slots for a confirmed interaction, keep one defensive answer, and leave the fifth slot for the problem of the area.
- Range / close / defense / movement / utility. Use this when you are still learning enemy telegraphs and do not yet know whether the encounter will stay at distance.
- Single target / clear / defense / recovery / flex. Separate a boss answer from a group answer, then use the last two slots for survival or an experiment.
- Co-op anchor / personal damage / control / defense / utility. In a group, make the bar readable to you first; the official co-op description does not assign mandatory class roles, so do not promise a party meta.
- Discovery bar. Keep one known spell, one newly unlocked spell, one defensive option, one movement or positioning answer if the live tooltip supports it, and one slot for a direct comparison.
When a spell is locked, separate its tree prerequisite from its attribute requirement. The two systems are not interchangeable, and the official text does not state that one reset route fixes the other. For reset details, use the Dimraeth skill tree and respec guide, which links the verified Steam moderator explanation for Befr’s attribute-reset path.
How the Dimraeth skill tree is structured in EA
Need the complete point-planning and reset route? Open the full Skill Tree & Respec Guide →.
The current official FAQ confirms that the live build includes a working skill tree and attribute system. The Steam description adds that each race-and-class Archetype has its own skill tree and playstyle. Together, these sources support a layered planning model: choose a live race and class, inspect the pairing’s tree, then check the attributes required by the ability you want.
The official pages reviewed here do not publish a complete node-by-node map, a fixed number of points per level or a balance-tested route. We therefore do not turn a screenshot, community guess or a pre-launch example into a universal rule. The classes and Archetypes guide separates current 3×3 roster counts from the broader 48-Archetype scope, and the full skill-tree guide explains how to plan and respec without assuming every number is permanent.
Weapon choice and a safe test plan
Testing a specific race/class route? Start with the source-aware Shadow Elf mechanics guide → before applying the test plan below.
No official source reviewed for this page establishes a best weapon, a required Shadow Elf weapon, a weapon tier list or a fixed weapon-to-class rule. That information is UNKNOWN. Choose from what the live character screen actually offers, read the weapon’s current effect and compare how its reach, timing and resource demands fit the spells you can consistently use.
- Start with function. Decide whether your current problem is range, spacing, finishing power or survival before chasing a named item.
- Keep the bar stable. Test the same five-spell pattern while changing the weapon, not the weapon and every spell at once.
- Read the equipment screen. Steam confirms equipment rarity tiers and upgrades exist, but it does not publish a universal upgrade priority in the store copy.
- Stop at evidence. If a weapon bonus requires a skill, attribute or effect you cannot verify, label that dependency UNKNOWN and do not write it as a recommendation.
For Shadow Elf, start with the source-aware mechanics guide. It explains the verified Vanish and clone questions while keeping the complete point allocation, weapon list and mandatory gear set pending. The full Shadow Elf build belongs in a later update after the separate evidence pass, not in this launch-week overview.
Build FAQ
What is the best Dimraeth build?
No verified winner exists in the official evidence reviewed here. The safest answer is a testable route with a known core action, a readable five-spell bar and a weapon whose live tooltip matches your plan.
How should I use the Dimraeth skill tree?
Trace the visible prerequisites to one core action, check its attribute requirements, then test before opening another branch. Exact point totals and a complete live node map remain UNKNOWN in the official text reviewed for this page.
Which Dimraeth weapon is best?
UNKNOWN. Steam confirms equipment rarity tiers and upgrades, but the reviewed official sources do not publish a universal weapon ranking or a required weapon for each current race/class pairing.
How many spells can a Dimraeth build equip?
Five at a time, according to the official Steam description. The store also says more than 300 spells are available in total; access and requirements should be checked in the live build.
Are all 48 Archetypes playable now?
No. The current Early Access roster lists three races and three classes. The larger eight-race, six-class model is broader scope, not proof that every combination is live.
Explore this hub